How to Make an AI Fitness Influencer
Step-by-step guide to building a fitness character on MakeInfluencers and turning them into before/after transformation content.
A step-by-step guide to building a fitness character on makeinfluencers.com and turning them into before/after transformation content.
Step 0: Know Who You're Talking To
Before you generate anything, decide who this character is for.
- Who's the audience? Men 25–40 trying to lose the dad-bod, women starting their first cut, gym newbies, busy professionals.
- What kind of character resonates with them? A relatable everyman, an aspirational athlete, a coach-next-door, a "used-to-be-like-you" figure.
Your character is a casting decision. Get this right and every later step gets easier.
Step 1: Create Your Character
Open MakeInfluencers and head to the character creator. You have two starting points:
- Pinterest reference — find a person whose look already fits your audience and use them as your base.
- Generate from scratch — describe the character in the prompt and let the model build them.
Either way, build the fit version first. This is your "after" — the aspirational version of the character.
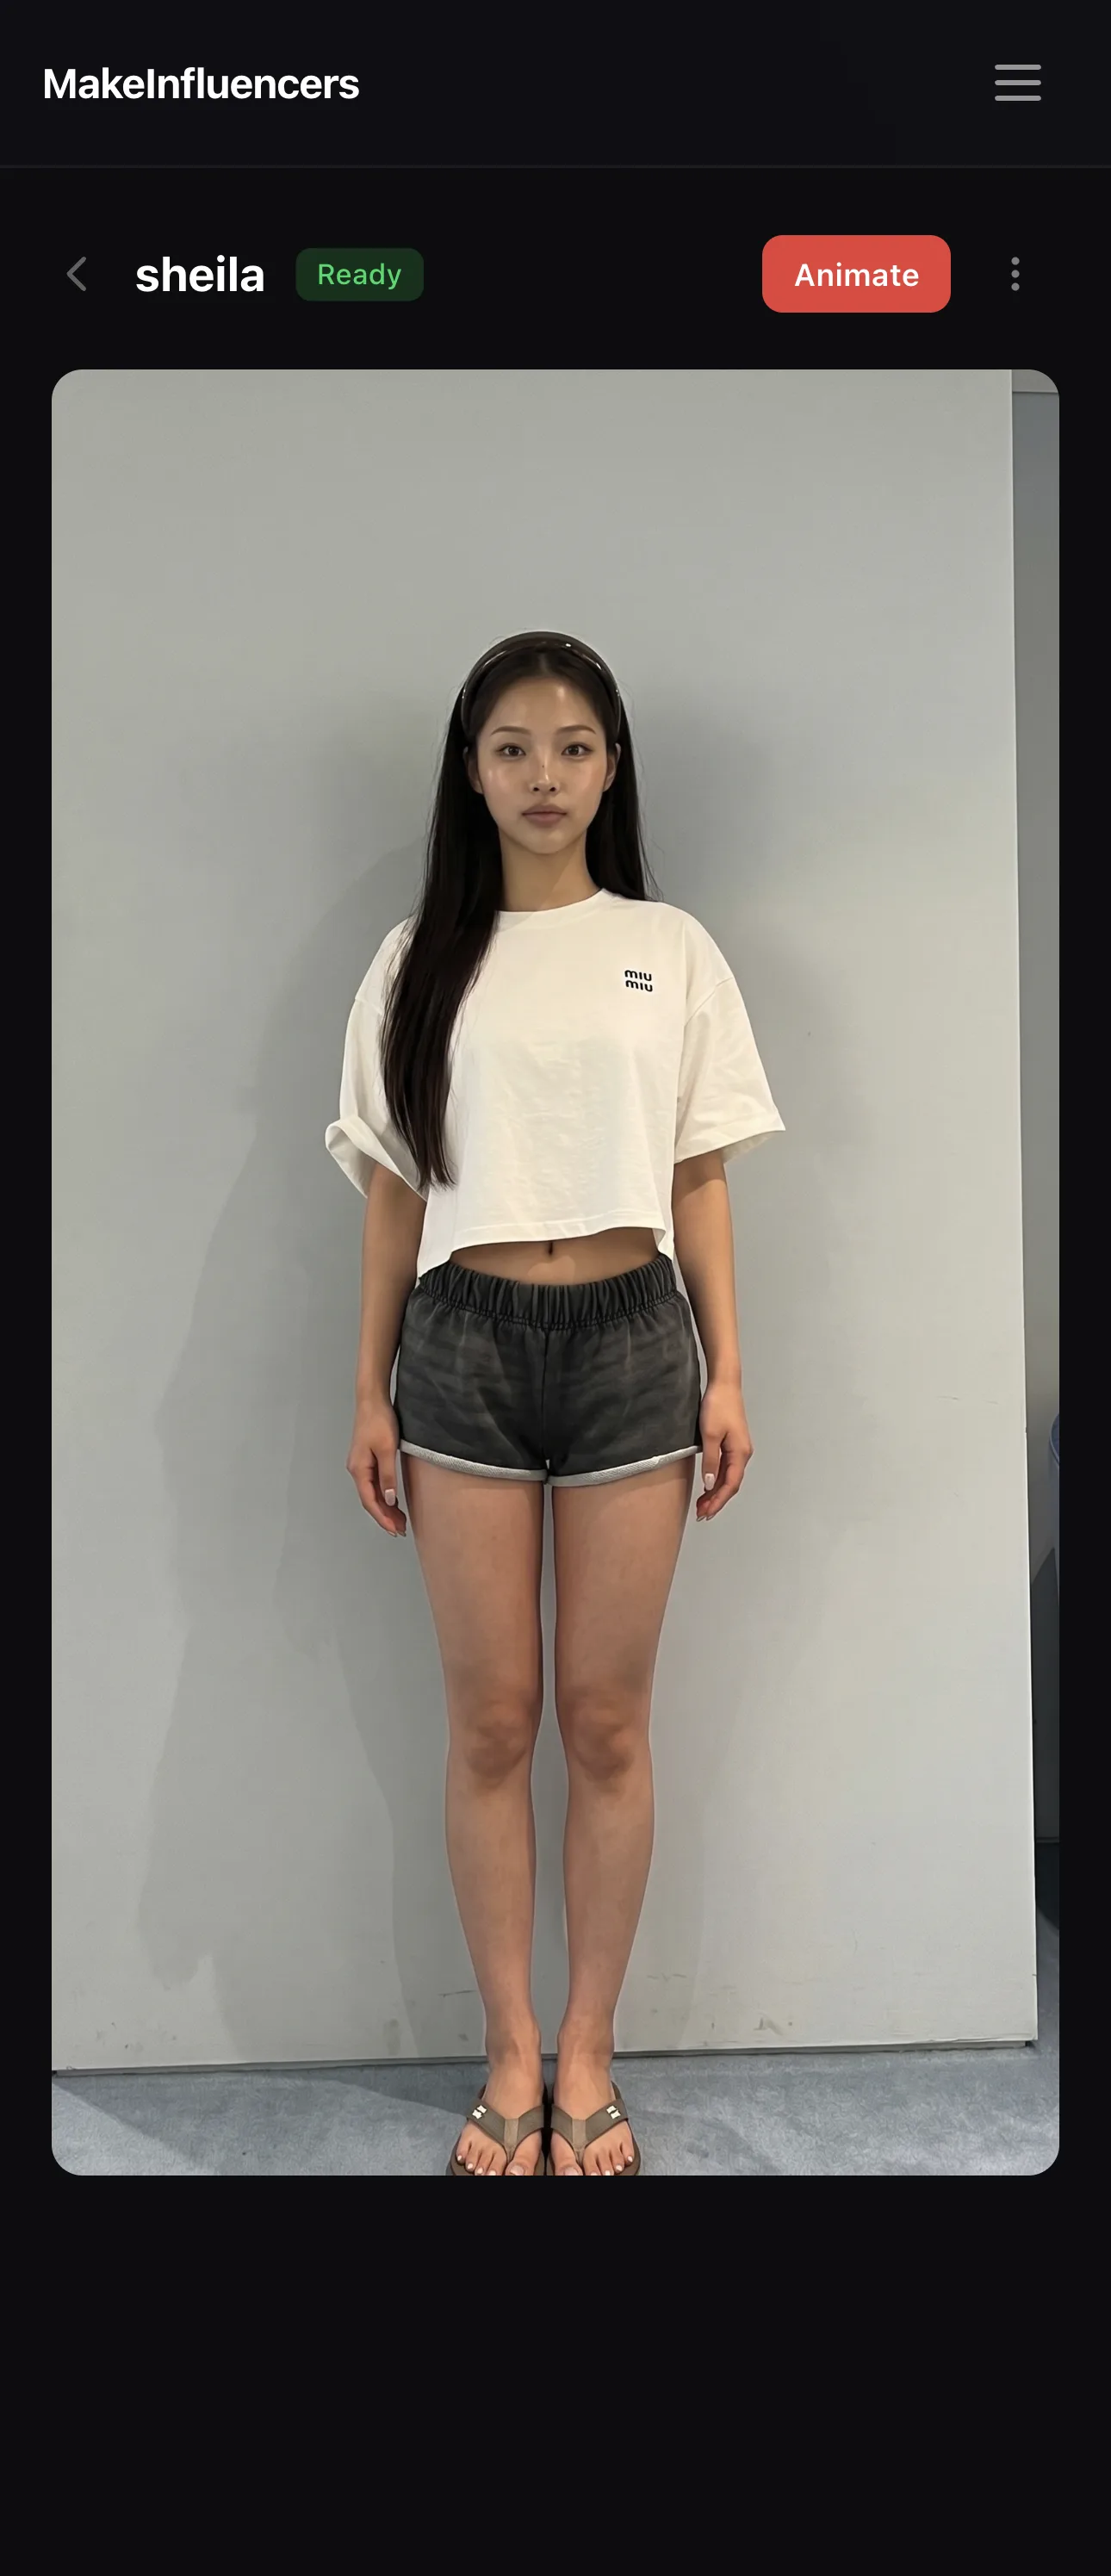
Step 2: Generate the "Before" Version
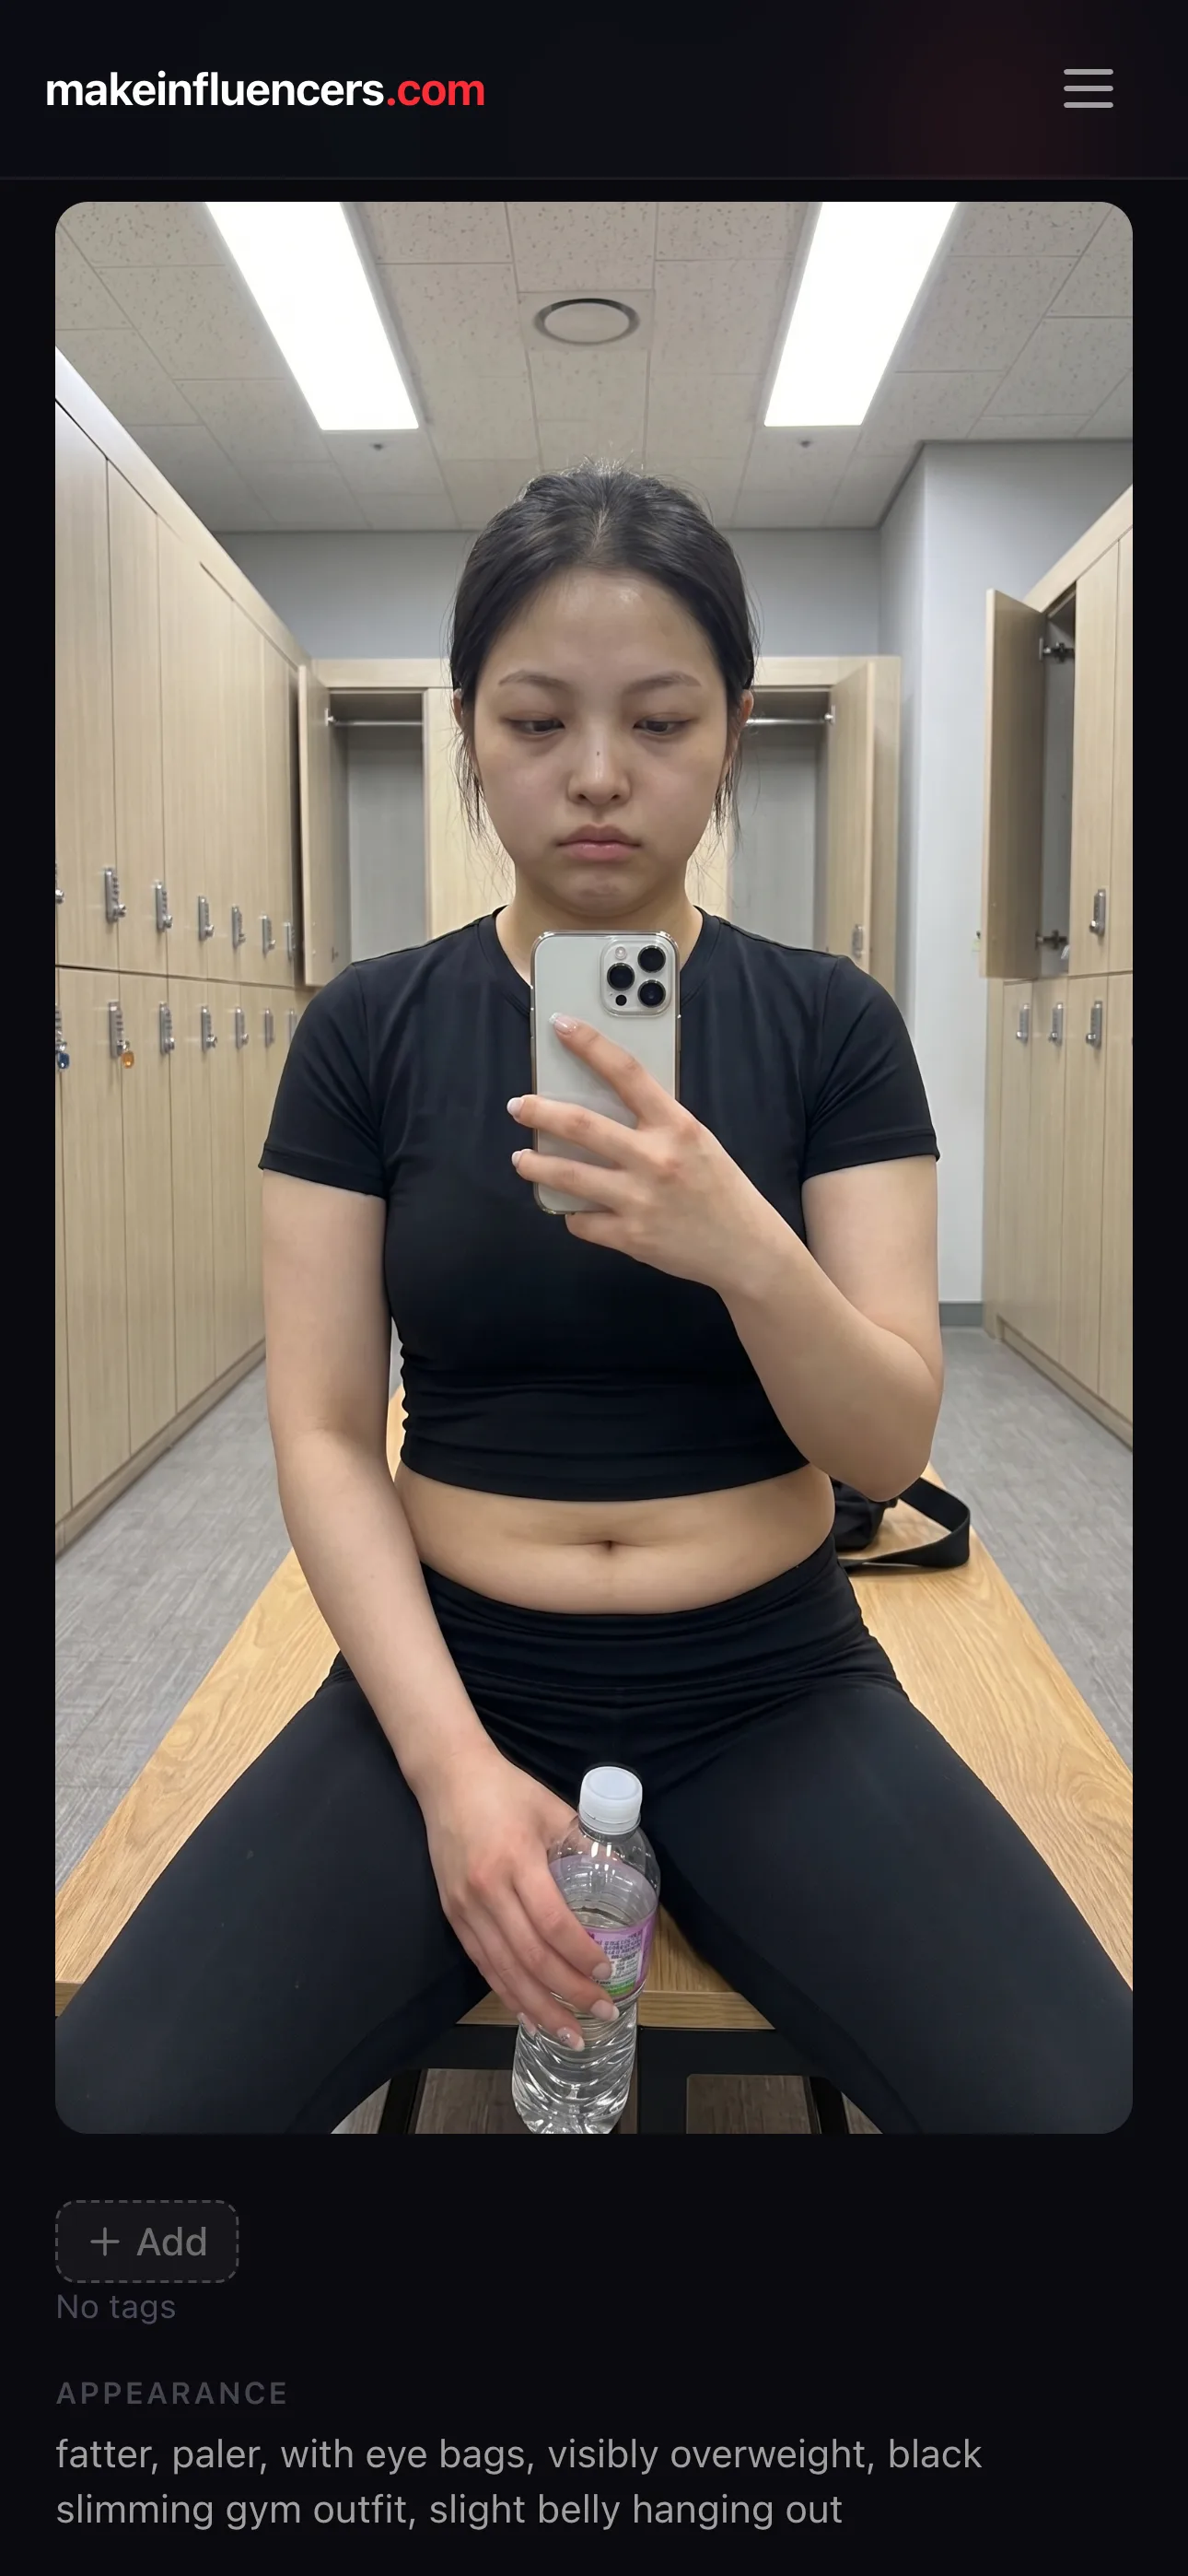
From the fit character, generate a variation that's the opposite end of the spectrum — heavier, tired, balding, defeated. This is your "before."
You now have two looks of the same person: a good version and a bad version. That contrast is the whole engine of the content.
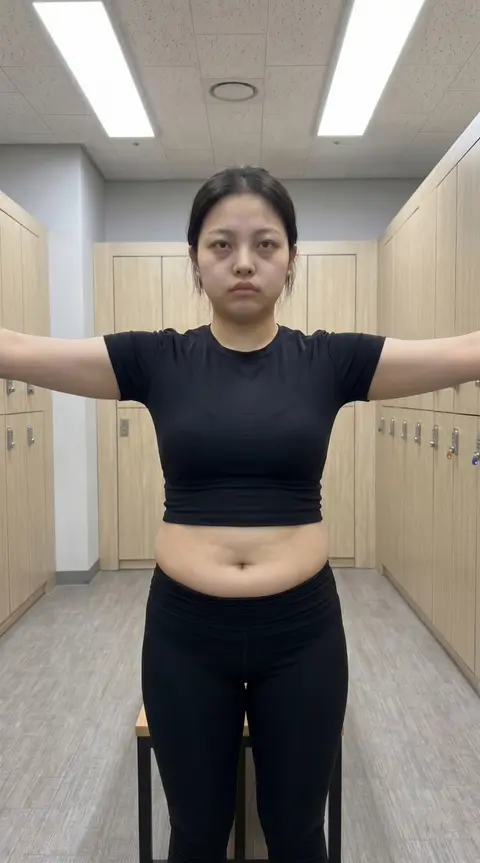
Step 3: Generate Matching Shots for Each Look
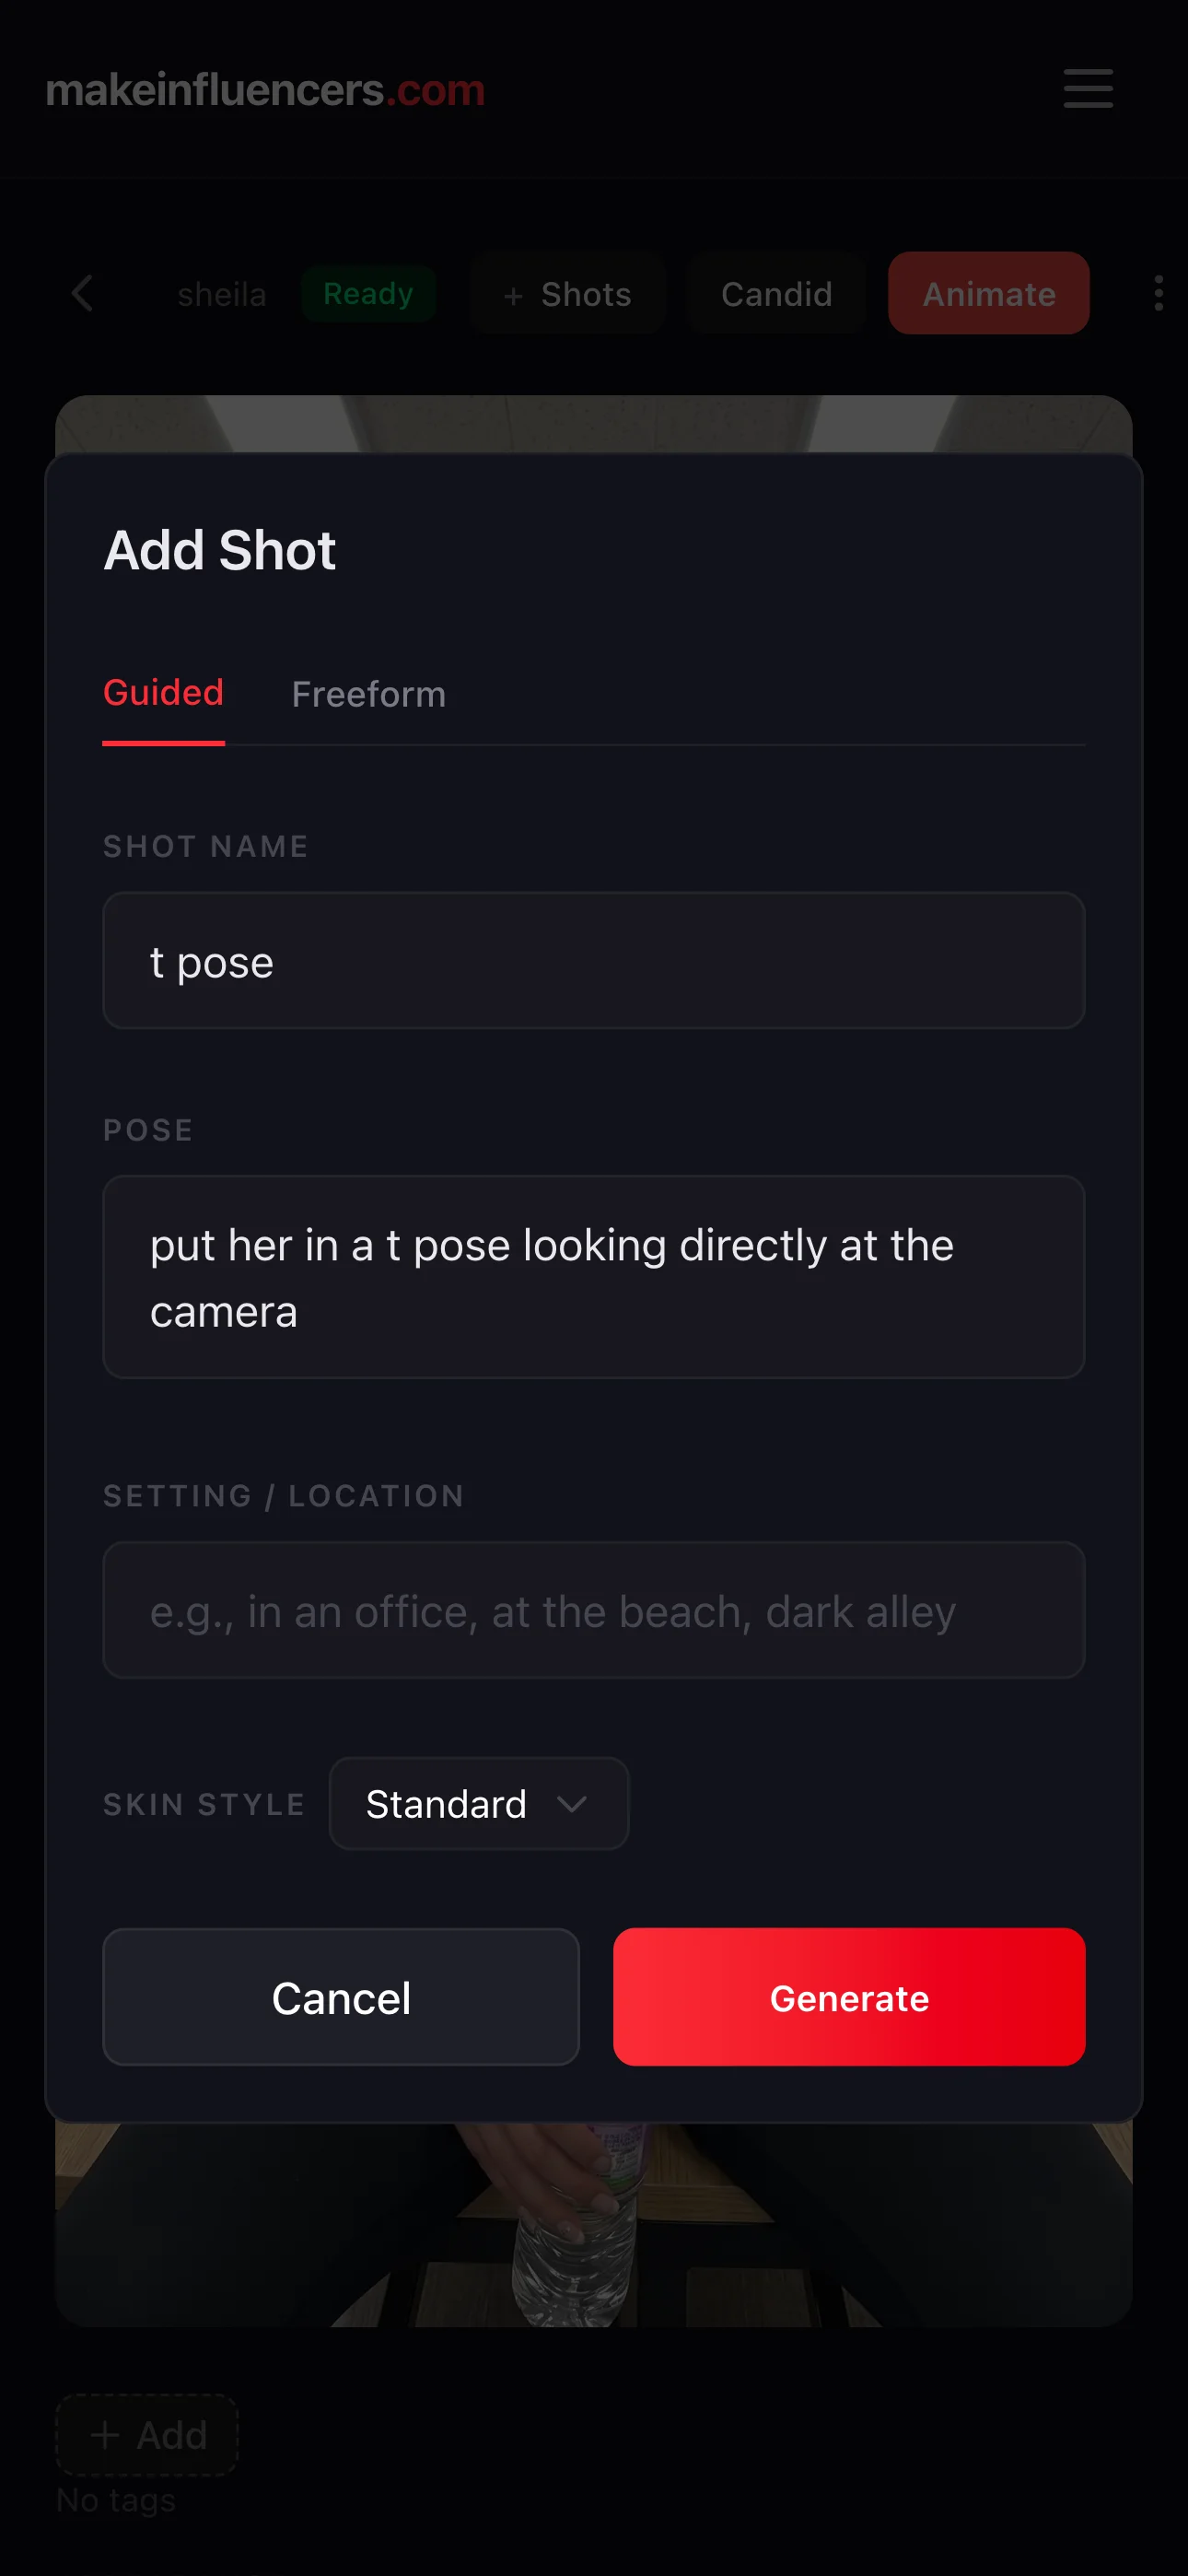
For each look, generate the same scene so the only thing that changes is the body. For this guide we're doing a gym locker-room progress pic.
Keep the framing, lighting, and pose consistent across both versions — that's what sells the transformation.
Put the character into a pose for the start frame of the video by creating a shot.
Run the same prompt against both looks and you get matched before/after shots:
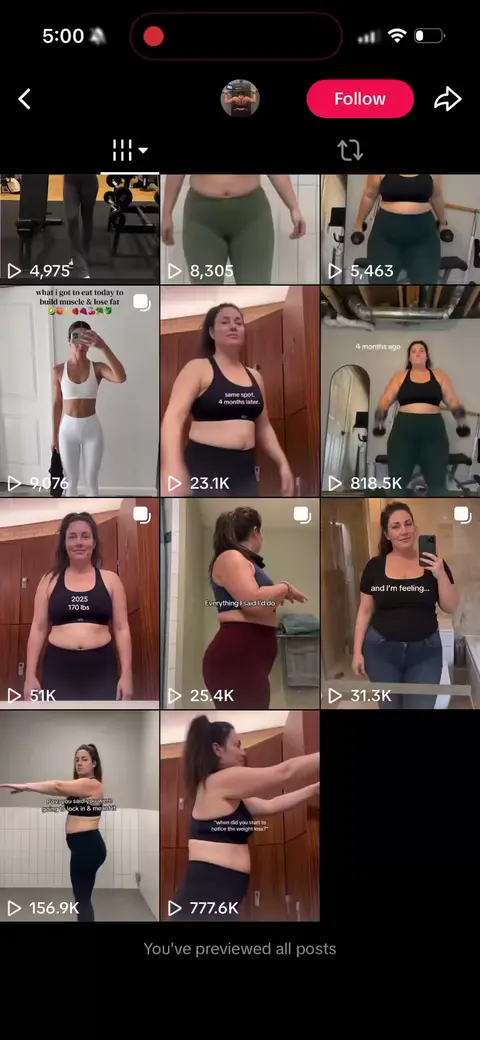
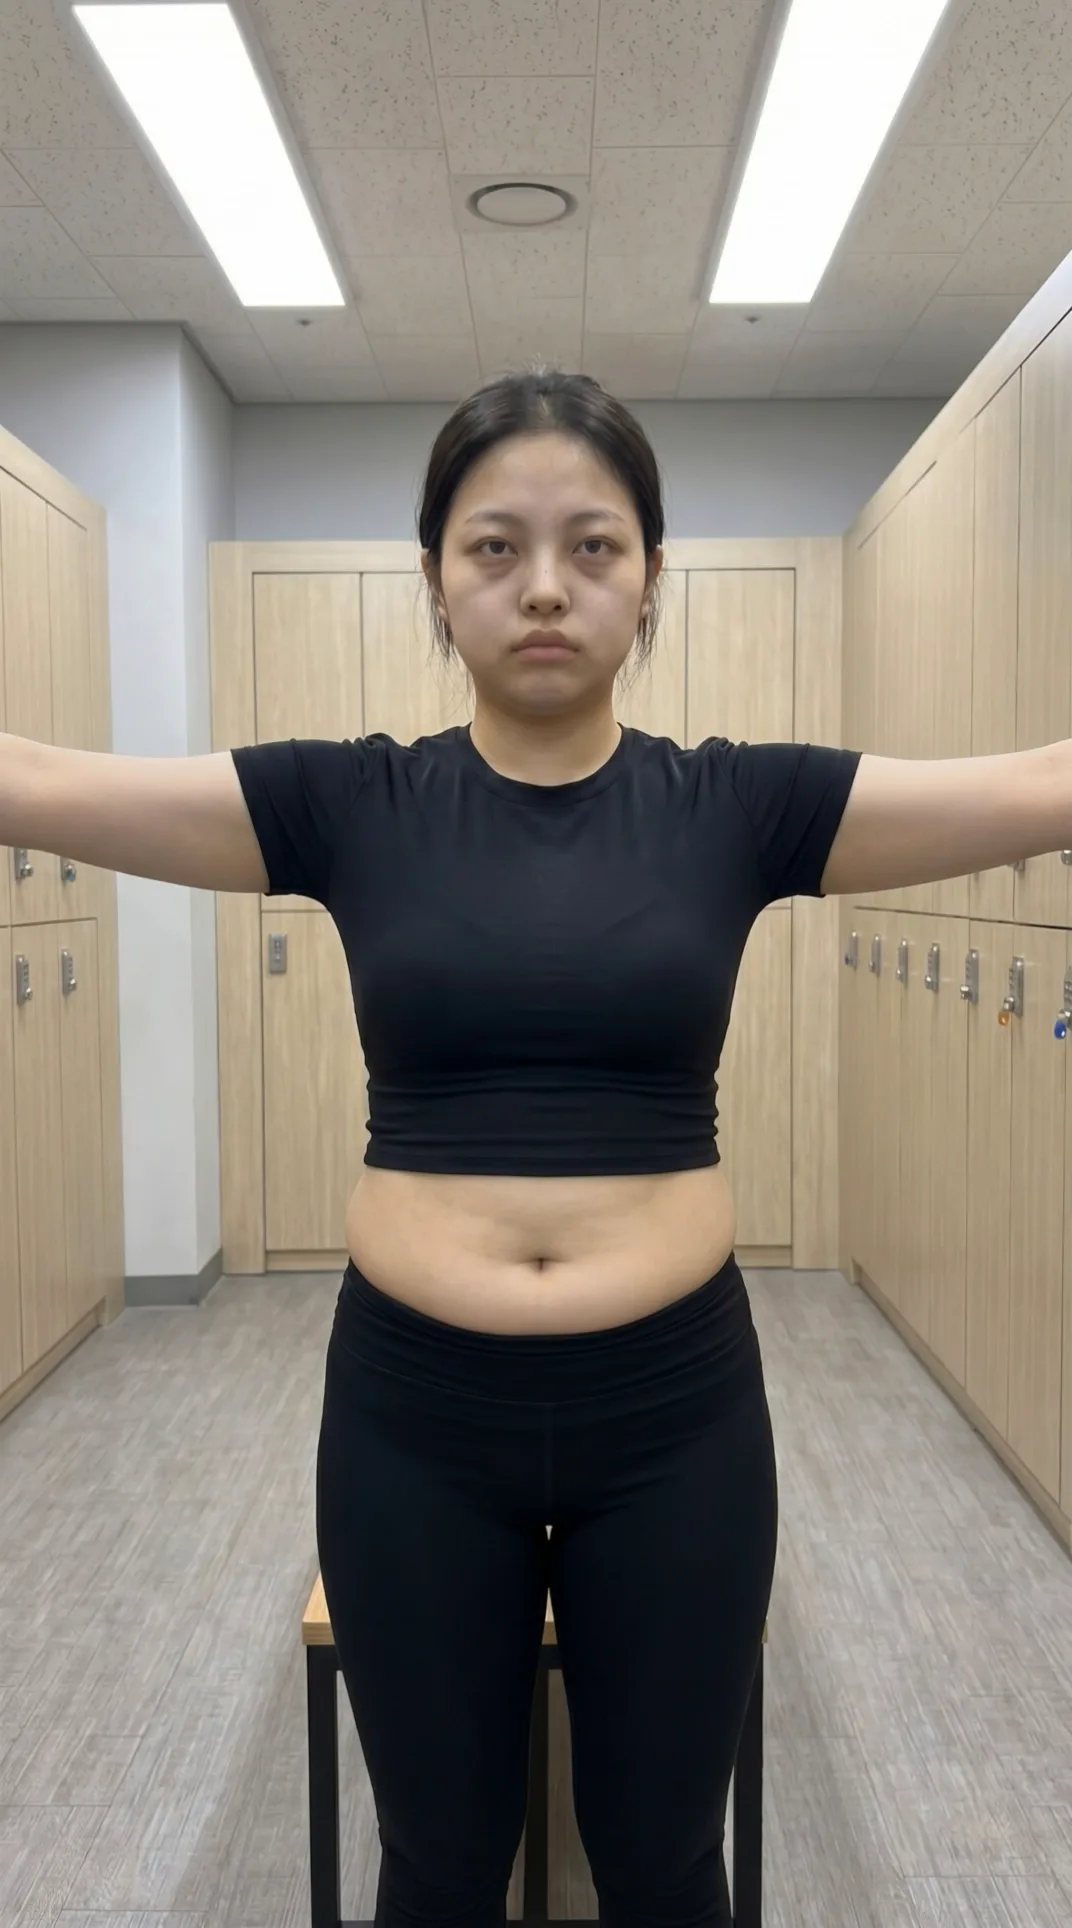 Before
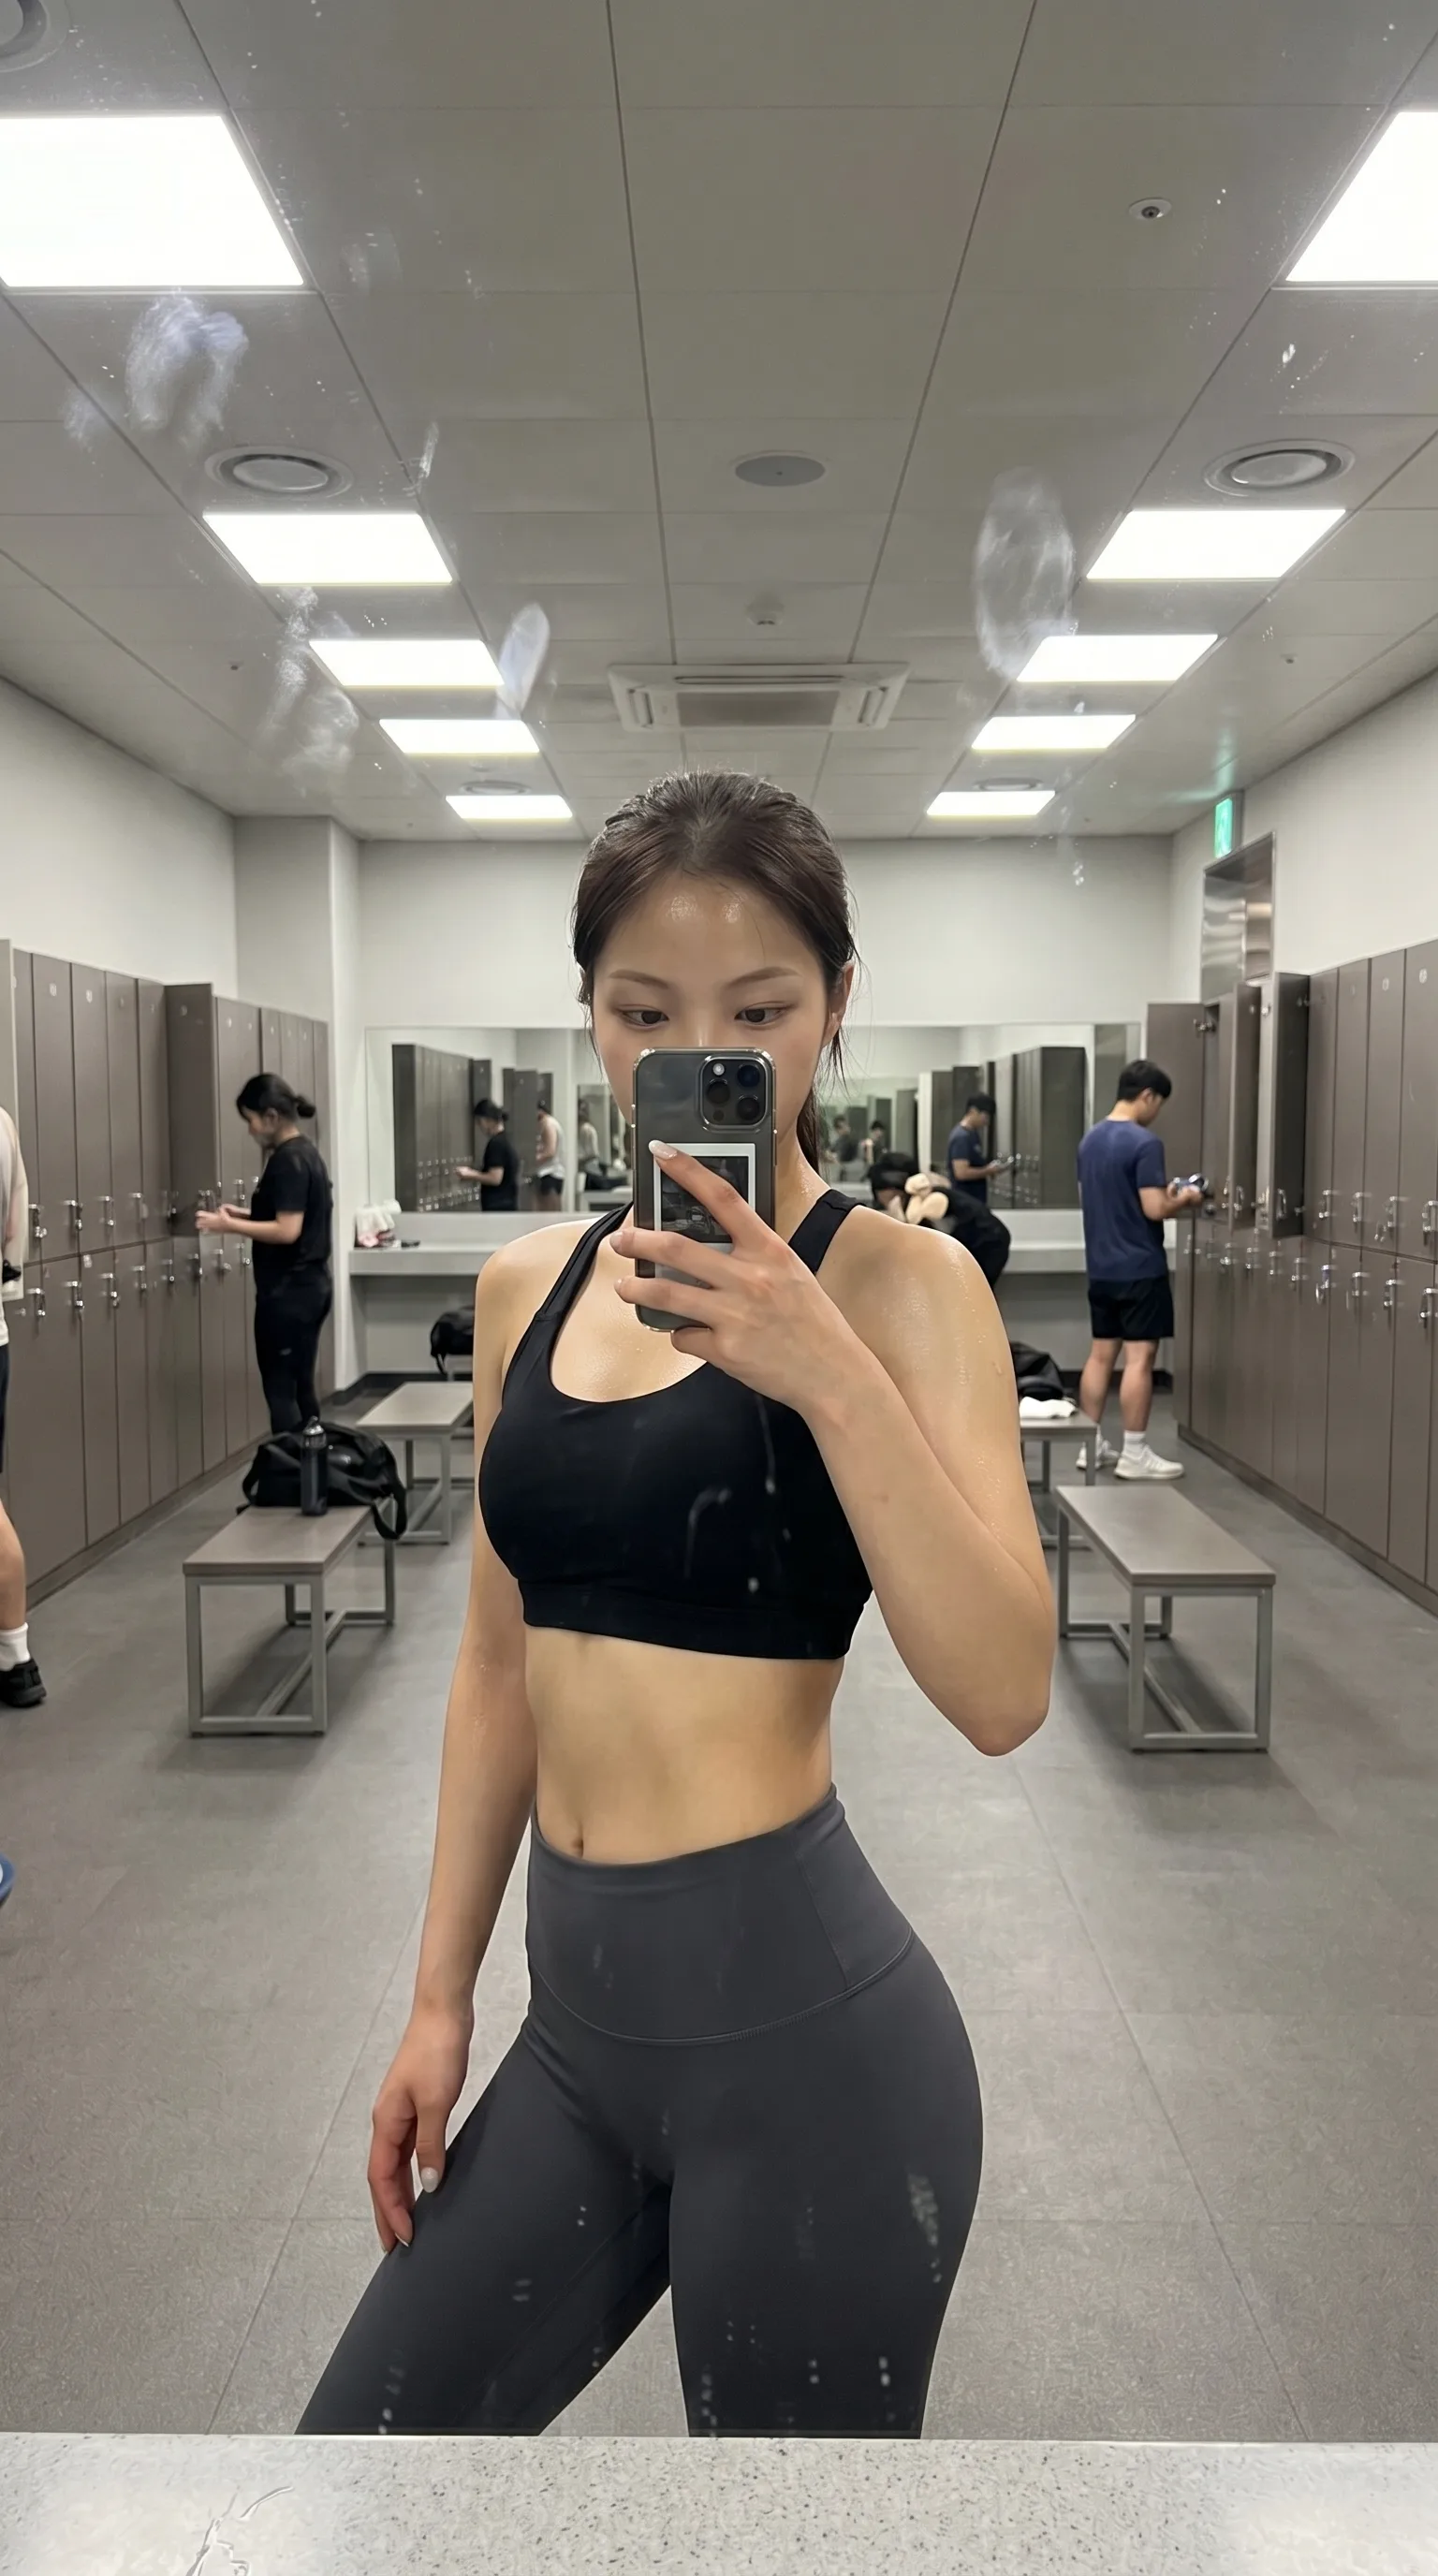 After
AfterWhy this works: people love watching transformations. The contrast between before and after is what gets them hooked — it implies a story without you having to tell one.
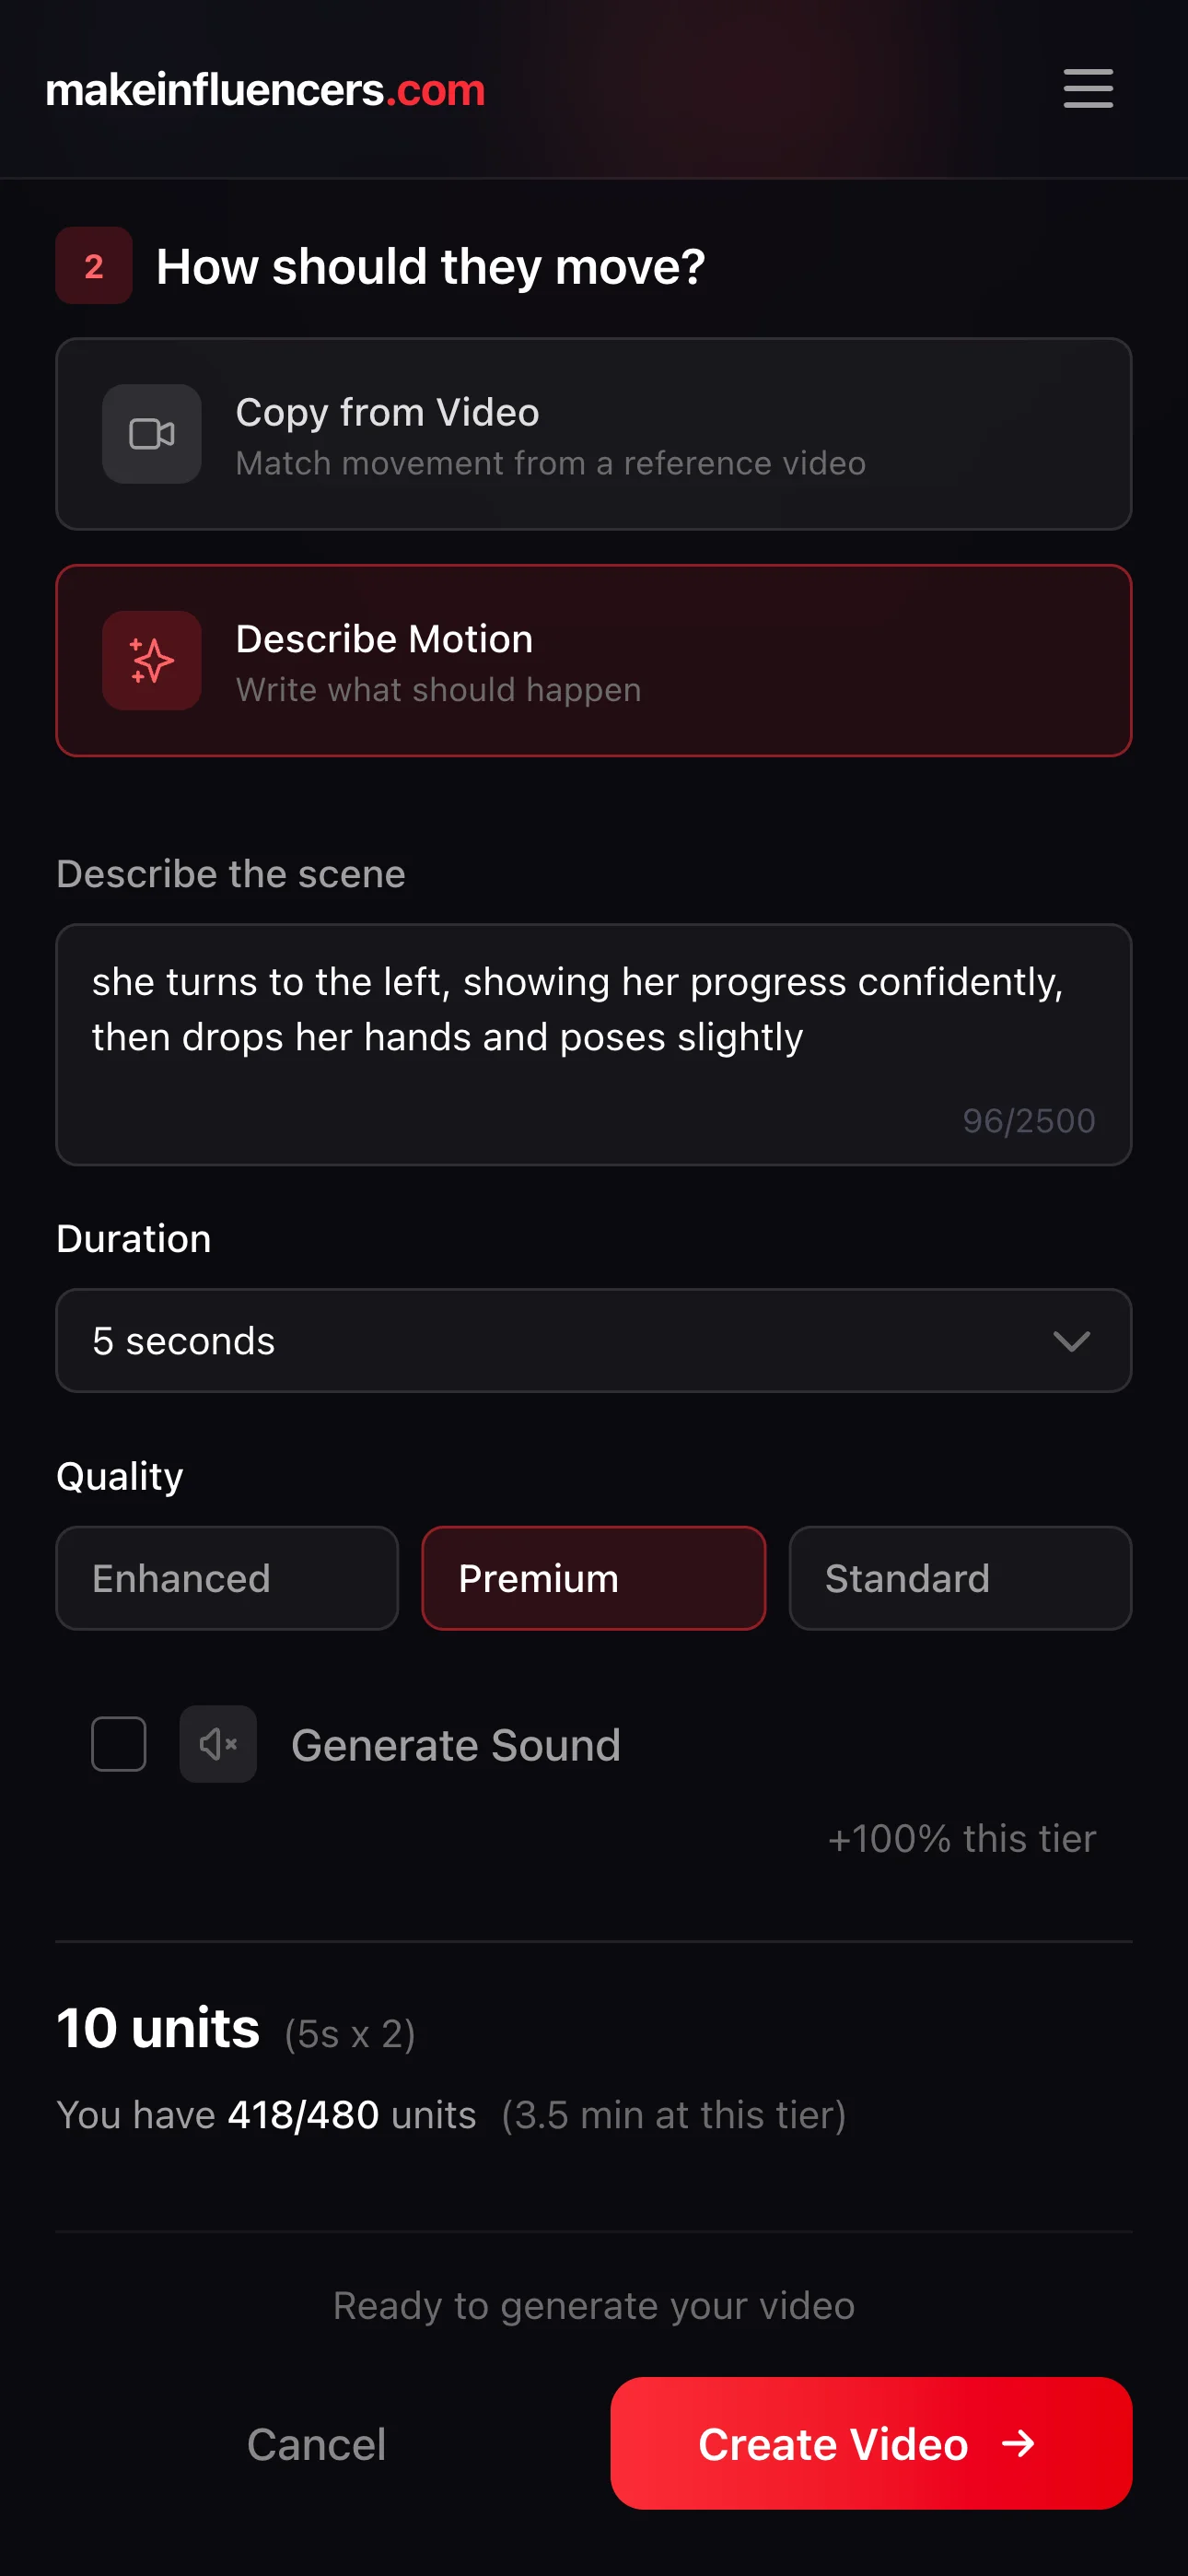
Step 4: Animate with Image-to-Video
Take each generated shot into the image-to-video flow and animate the pose with a simple prompt — small motions work best (subtle breathing, flexing, looking at the mirror, lifting a shirt).
Keep prompts short. Over-prompting at this stage usually makes the motion weird.
Step 5: Edit and Post
Every generation is saved automatically in your library, so you don't need to re-render anything. Pull the clips into your editor, cut them together (before → after, with a beat or a sound cue at the transition), and post.
Recap
- Pick your audience and character archetype
- Generate the fit version
- Generate the unfit variation
- Generate the same scene for both looks
- Animate each with image-to-video
- Edit before → after, post
The contrast does the work. Your job is to make the two versions believable as the same person.