How to Create an AI Influencer (Complete Guide)
Step-by-step guide to building an AI influencer from scratch. Covers niche selection, character creation, content generation, posting strategy, and growth to 10K followers.
AI influencers are virtual characters that post content, build followings, and monetize audiences on social media — all without a real person appearing on camera. This guide walks through the entire process of creating one from scratch.
What Is an AI Influencer?
An AI influencer is a computer-generated character that operates as a social media personality. Unlike a human influencer, an AI influencer can:
- Post across multiple niches without personal brand conflicts
- Generate content at scale (4-6 videos per hour with batch processing)
- Maintain privacy — no face, no personal exposure
- Operate 24/7 with consistent quality
AI influencers exist on TikTok, Instagram, YouTube, and other platforms. Some have reached millions of followers and generate real revenue through brand deals, affiliate marketing, and creator funds.
Step 1: Choose Your Niche
Your niche determines everything — content topics, character design, audience, and monetization. Pick a niche based on three factors:
Demand — Does the topic have a large, active audience on your target platform? Check hashtag volumes and trending content.
Consistency — Can you generate content in this niche repeatedly? Topics like fitness, finance, motivation, cooking, and beauty have endless content angles.
Monetization — Are there brands, affiliate programs, or products you can promote? Niches with commercial intent (product reviews, tutorials) monetize faster.
High-Performing Niches for AI Influencers
- Fitness & Health — Workout tips, nutrition advice, transformation content
- Personal Finance — Budgeting, investing, side hustles
- Motivation & Mindset — Quotes, stories, productivity tips
- Beauty & Fashion — Product reviews, outfit ideas, styling tips
- Tech & Gadgets — Product reviews, tutorials, comparisons
- Cooking & Recipes — Quick recipes, meal prep, food hacks
- Travel & Lifestyle — Destination content, travel tips, lifestyle vlogs
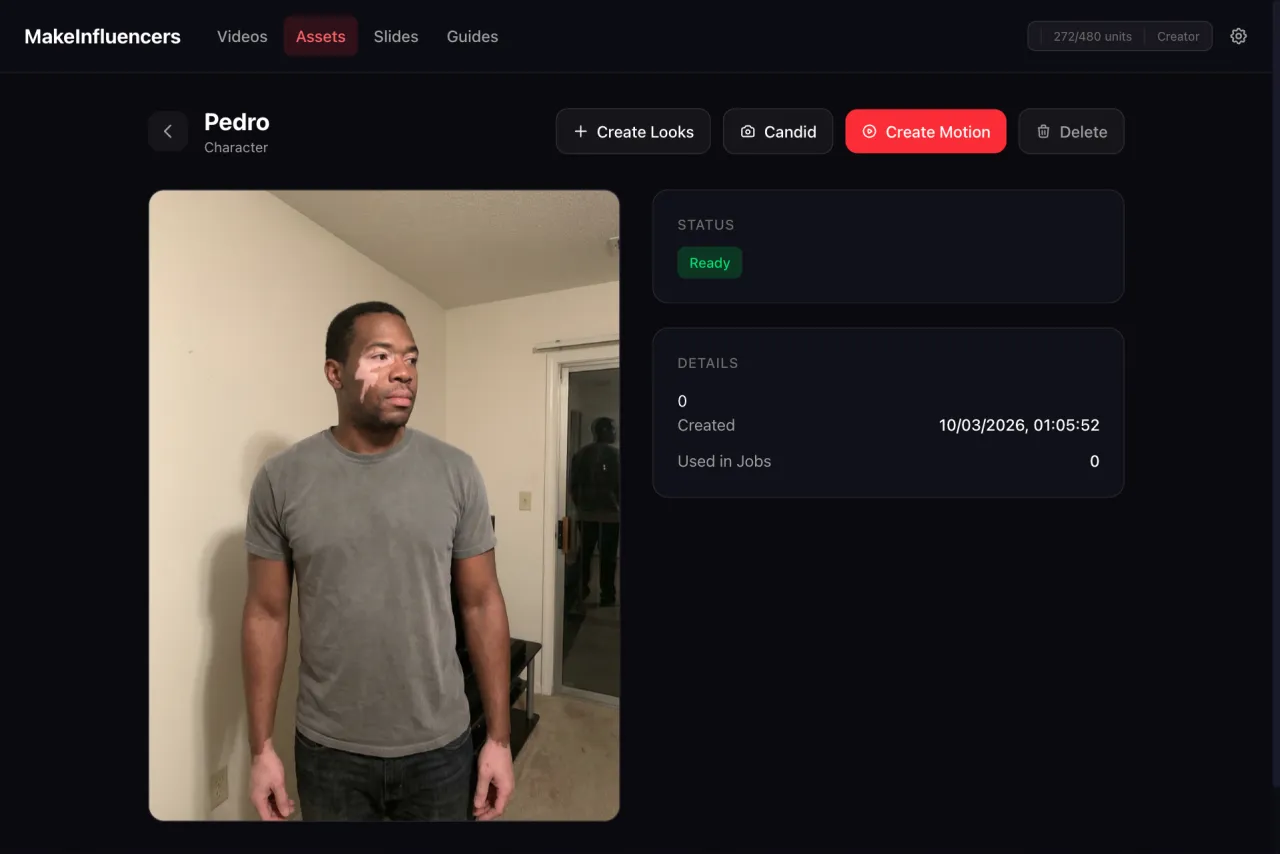
Step 2: Create Your Character
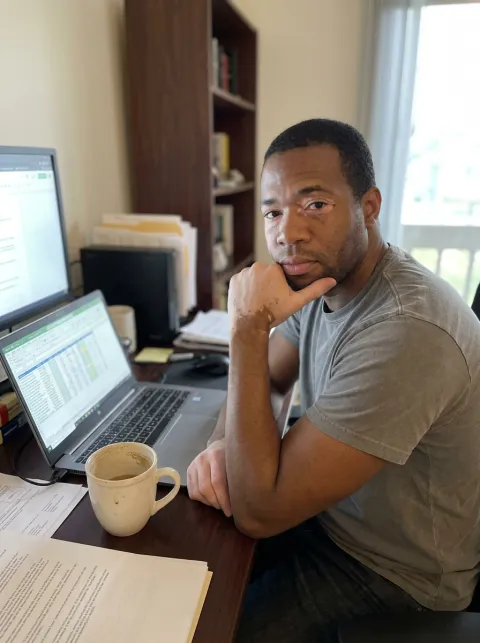
Your character is the foundation of your AI influencer. It needs to be visually distinctive, appropriate for your niche, and consistent across all content.
Using MakeInfluencers for Character Creation
- Upload a reference photo or generate a character from scratch

- Choose a style preset — MakeInfluencers offers 15+ presets that define the overall aesthetic

-
Select your generation mode:
- Quality mode — Higher fidelity, more photorealistic results
- Creative mode — More artistic freedom, stylized output
-
Review and refine — Generate a few variations and pick the best base character
Character Design Tips
- Match the character's appearance to your niche (fitness character should look athletic, finance character should look professional)
- Choose distinctive features that are easy to recognize across posts
- Consider your target audience demographics when designing the character
- Keep the design versatile enough for different settings and outfits
Step 3: Generate Looks & Poses
Once your character exists, you need visual variety. The Looks & Poses system creates this systematically.
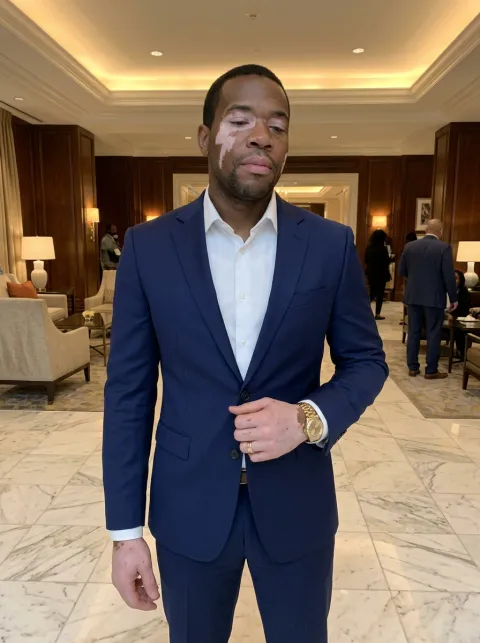
Looks — Appearance Variations
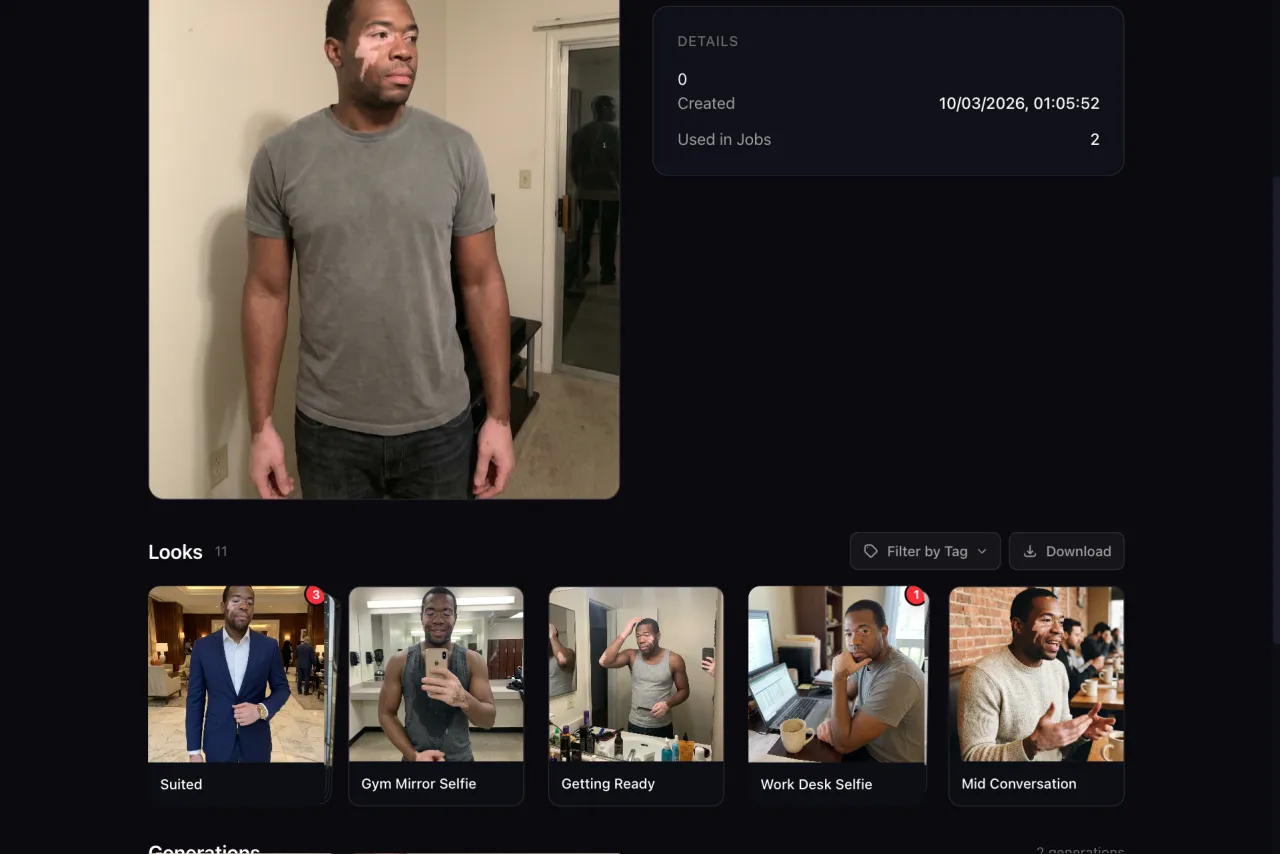
Looks change how your character appears while maintaining their core identity:
- Body variations — Different body types, builds, or fitness levels
- Age variations — Slightly younger or older versions
- Style variations — Different clothing styles, hair, accessories
- Seasonal variations — Summer outfits, winter wear, formal vs. casual
Aim for 3-5 distinct Looks to start.
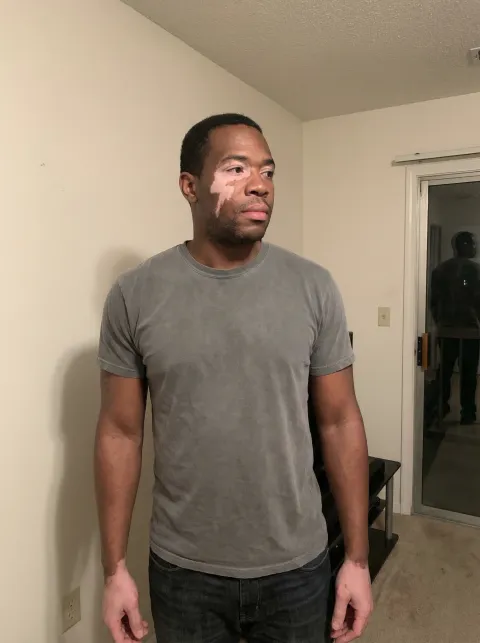
Poses — Action & Setting Combinations
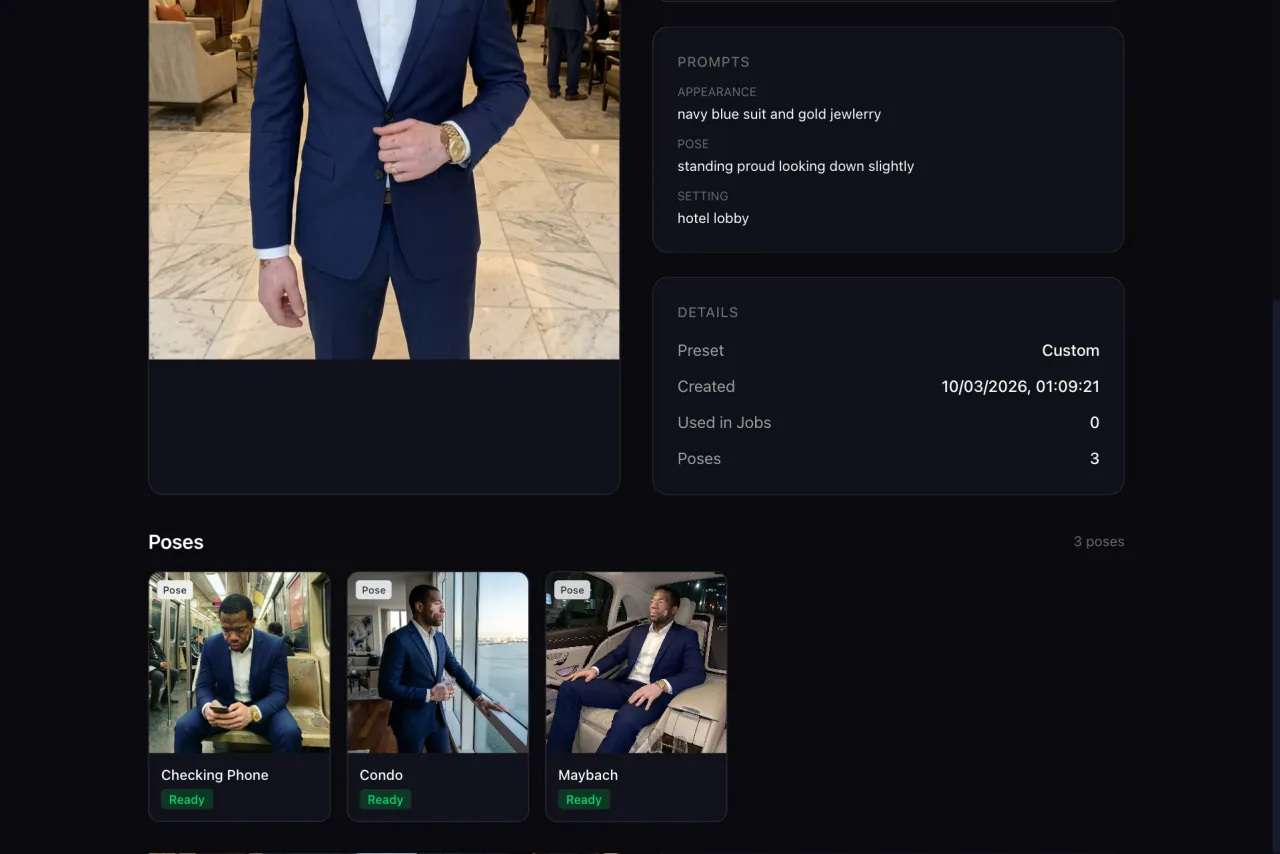
Poses place your character in different contexts:
- Locations — Gym, office, coffee shop, outdoors, studio
- Actions — Talking to camera, exercising, cooking, working, walking
- Social situations — Solo, with friends, in a group, at an event
Aim for 5-10 Poses per Look, giving you 15-50 unique images.


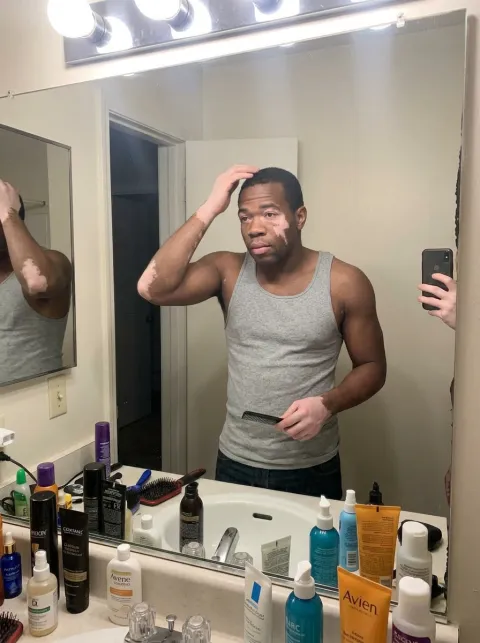
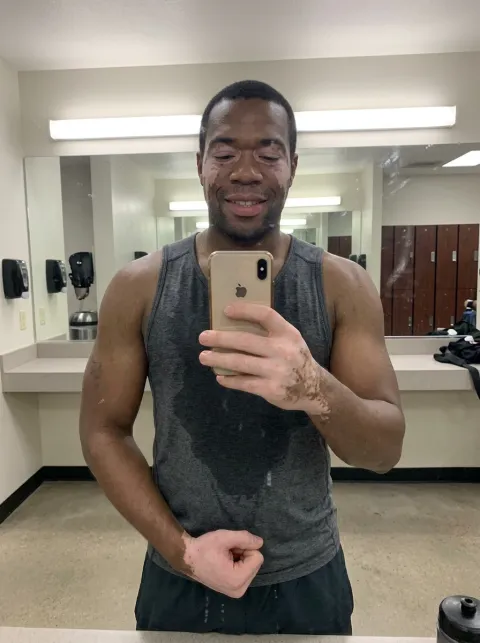
Candid Photos
In addition to posed shots, generate candid photos for authenticity:
- Selfies (mirror selfies, phone selfies)
- "Caught in the moment" shots
- Behind-the-scenes style images
- Group photos with other characters
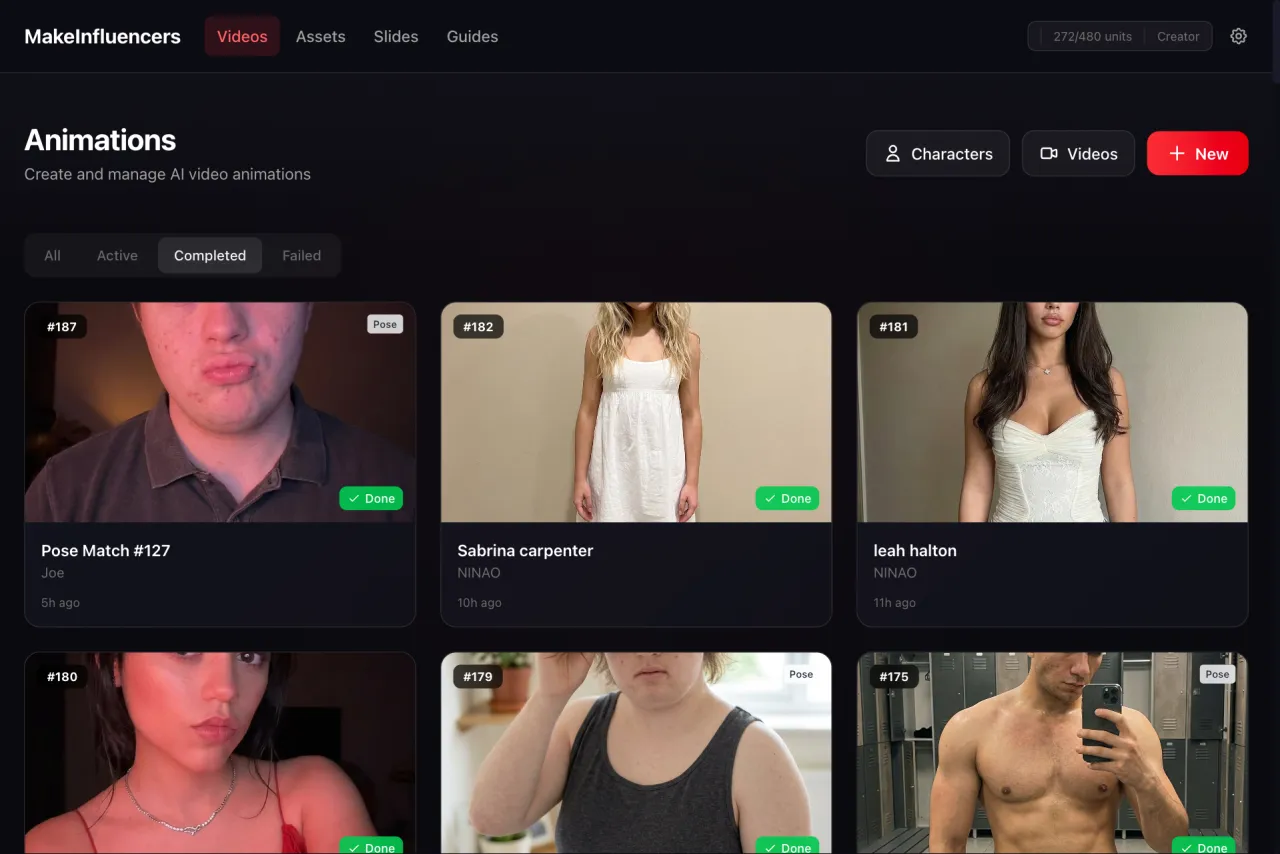
Step 4: Create Your First Content
With your character and variations ready, start producing content. Focus on one or two formats initially.
Video Content Options
Motion-Cloned Videos — Find a trending video, upload it as a motion source, and your character recreates the movements. Fastest way to participate in trends.
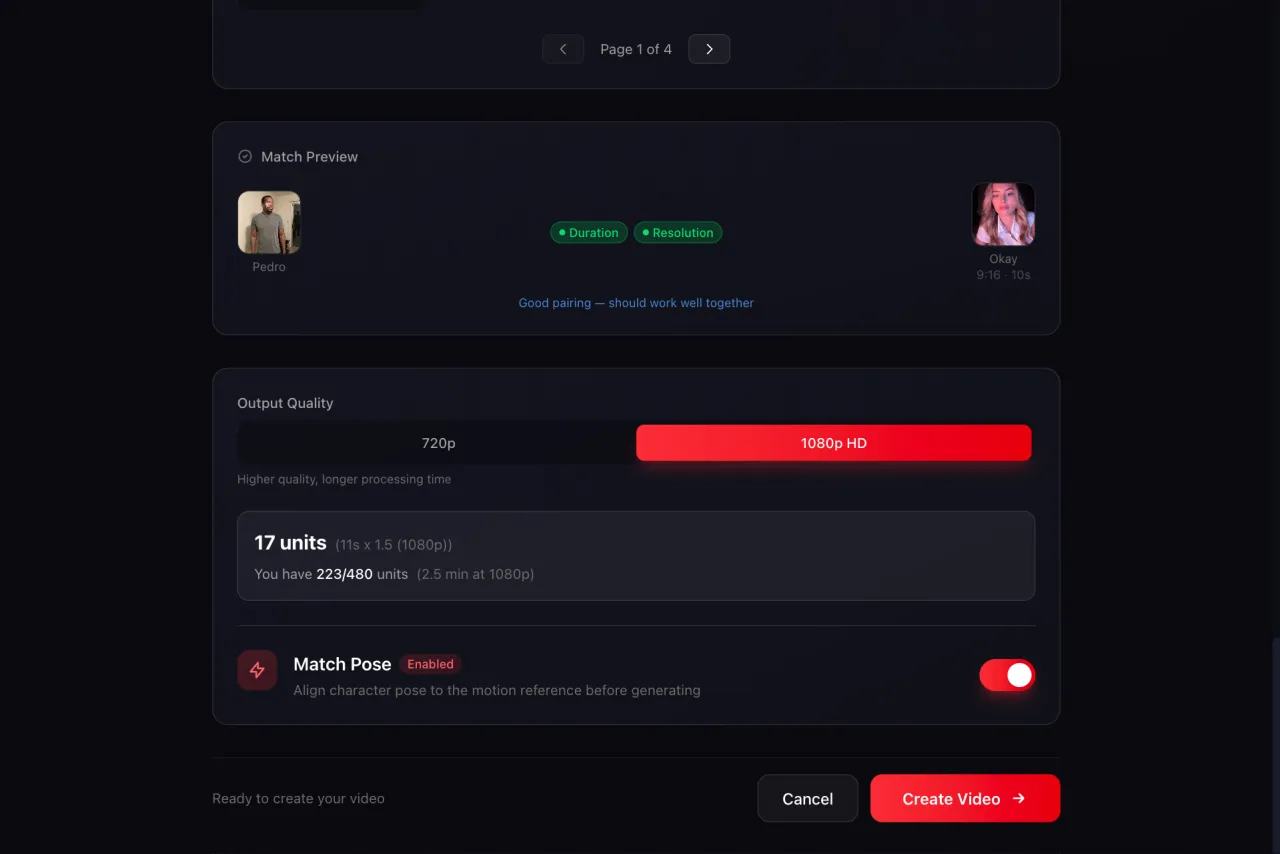
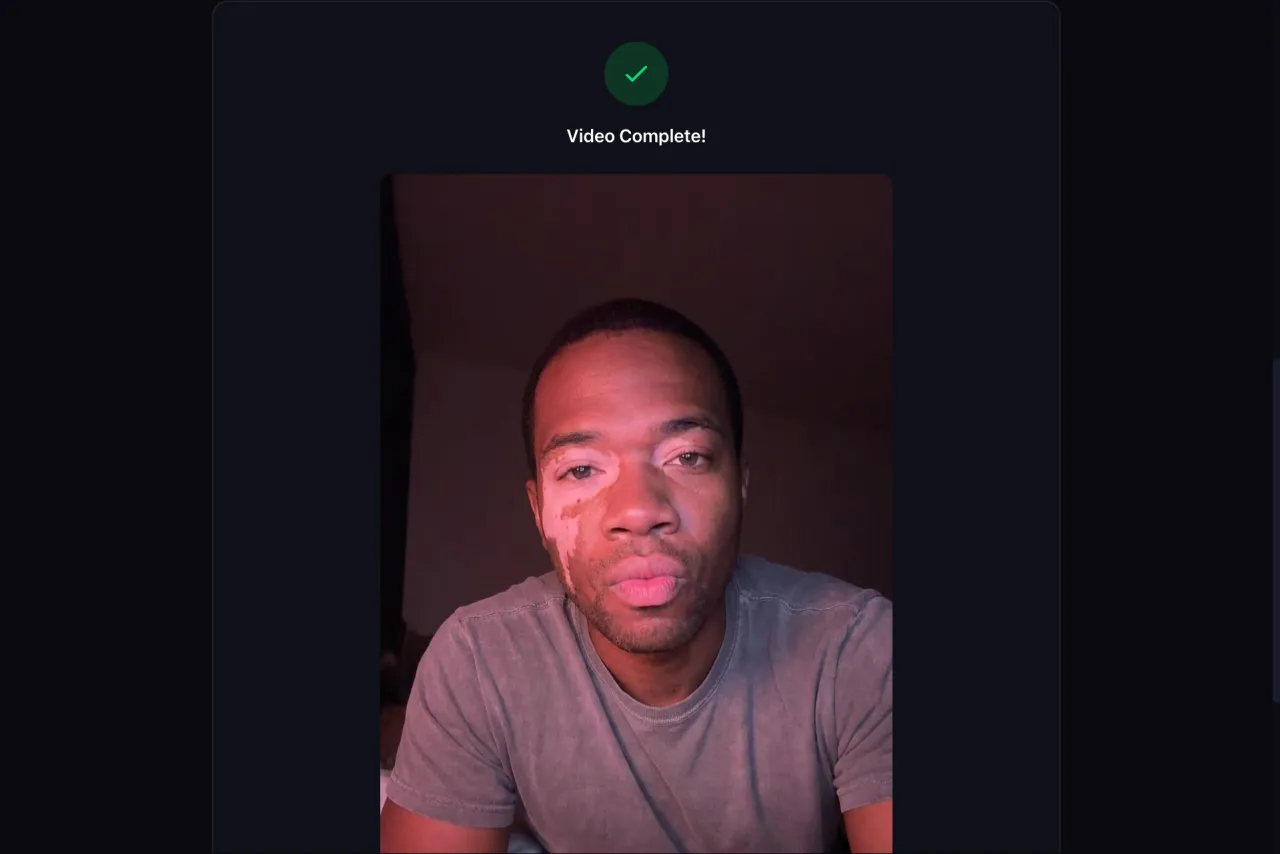
Image-to-Video — Animate a still character photo with a text prompt. Good for short, eye-catching clips.
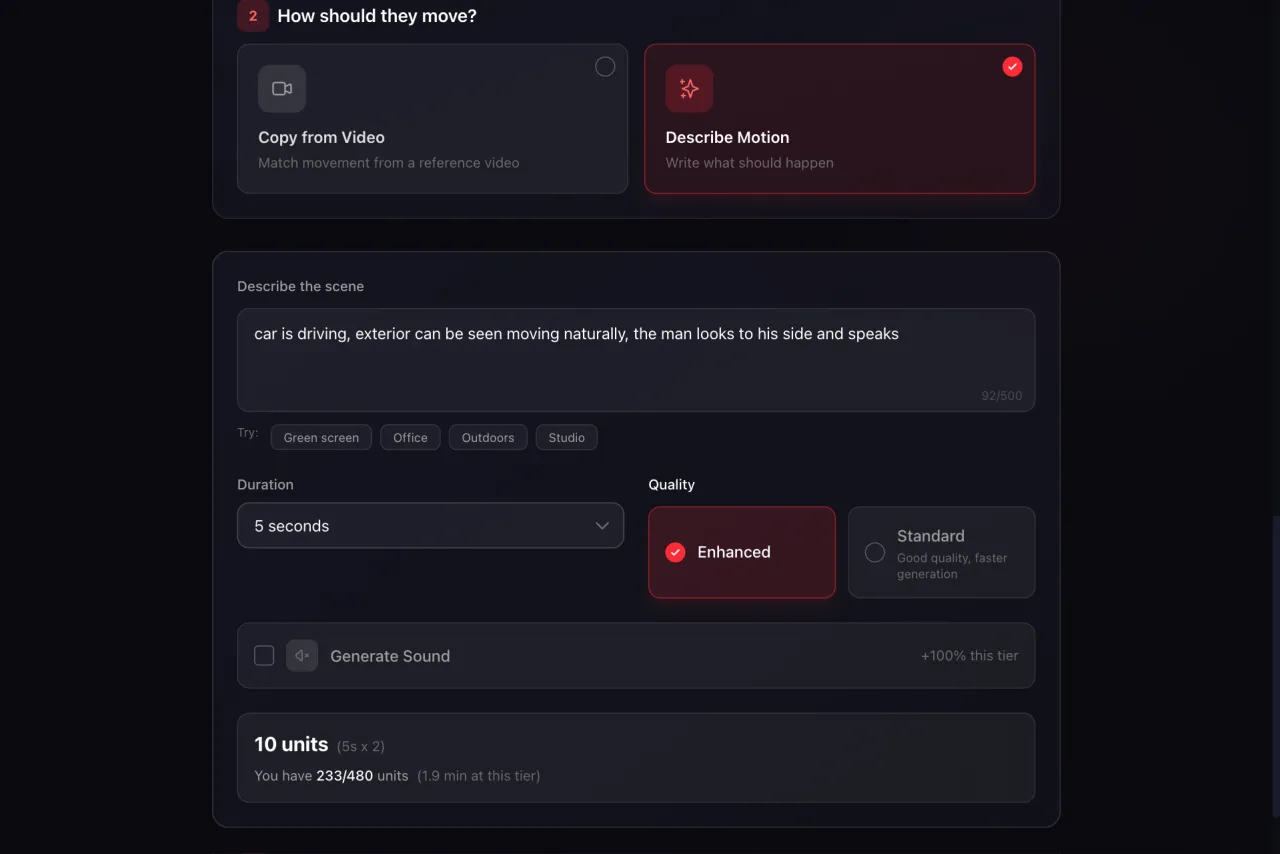
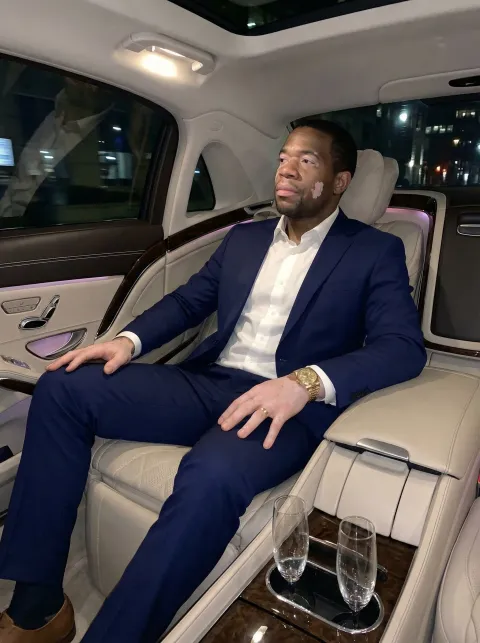
“car is driving, exterior can be seen moving naturally, the man looks to his side and speaks”
Photo & Slideshow Content
Single Images — Character photos with captions for Instagram and Twitter/X.
Slideshows — Multi-slide content with text overlays. High save rates on TikTok and Instagram.
Content Production Tips
- Start with 5-10 pieces of content before posting anything
- Test different formats to see what performs best
- Use batch processing to generate content efficiently
- Keep a content library organized with tags
Step 5: Set Up Your Social Media Accounts
Before posting, set up your accounts properly:
- Profile photo — Use your best character image
- Bio — Clear value proposition for your niche
- Username — Memorable, niche-relevant, consistent across platforms
- Links — Link to your other platforms or landing page
- Content grid — Plan your first 9-12 posts for a cohesive initial grid
Step 6: Post and Grow
Consistency beats perfection. Follow these principles:
Posting Schedule
- TikTok — 1-3 posts per day, 7 days a week for maximum growth
- Instagram Reels — 1-2 per day, supplement with Stories and carousel posts
- YouTube Shorts — 1 per day, cross-post your best TikTok content
Growth Tactics
- Use trending sounds — TikTok's algorithm favors content using trending audio
- Post at peak times — Check your analytics for when your audience is most active
- Engage with comments — Reply to comments to boost engagement signals
- Study what works — Double down on content formats that get the most views
- Collaborate — Engage with other creators in your niche
- Use the SHARE framework — Content that is Surprising, High-value, Actionable, Relatable, and Emotional gets shared
Step 7: Monetize
Once you have an engaged audience, there are several monetization paths:
- Creator funds — TikTok Creator Fund, YouTube Partner Program (requires minimum thresholds)
- Brand sponsorships — Reach out to brands in your niche or join influencer marketplaces
- Affiliate marketing — Promote products with affiliate links in your bio
- Digital products — Sell courses, templates, or guides related to your niche
- Merchandise — Use your AI character on products
Common Mistakes to Avoid
- Inconsistent posting — The algorithm rewards consistency. Missing days hurts growth.
- Too many niches — Focus on one niche per account. Broad content confuses the algorithm.
- Ignoring analytics — Check what's working and adjust. Data beats intuition.
- Low variation — Using the same character image repeatedly looks robotic. Use Looks & Poses for variety.
- Skipping engagement — Replying to comments signals to the algorithm that your content sparks conversation.
Summary
Creating an AI influencer is a systematic process: choose a niche, build a character, generate variations, create content, and post consistently. The tools exist to handle the technical side — MakeInfluencers manages character creation, content generation, and batch processing. Your job is strategy, consistency, and optimization based on what the data tells you.
Start with one character, one niche, one platform. Once you find a formula that works, scale it.